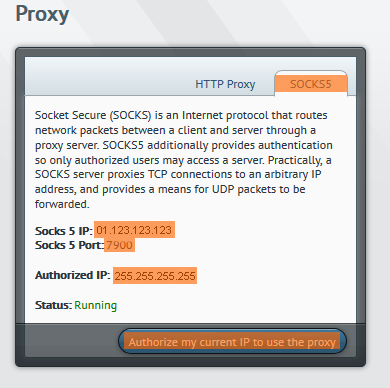
Click on the HTTP Proxy tab and you will be given the information to set up your proxy in your browser.
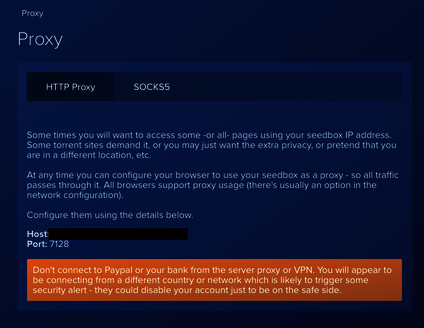
In Proxy click the SOCKS5 tab
Make a note of the server IP and Port and then click Authorize my current IP to use the proxy
Your current IP will appear as Authorized IP
Browser
Firefox
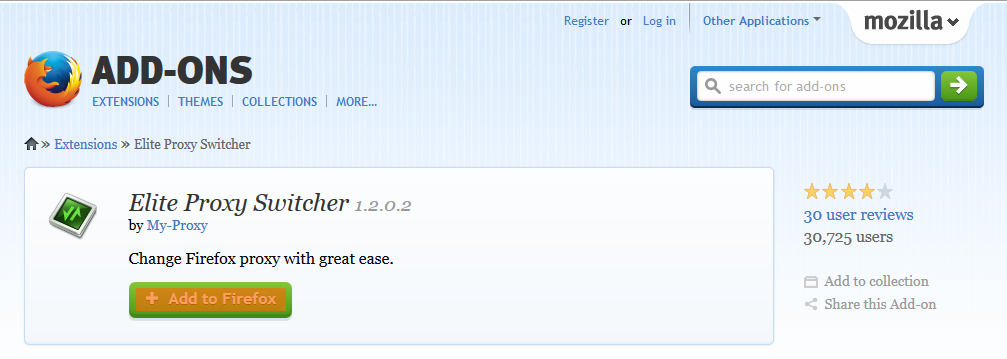
Goto https://addons.mozilla.org/en-US/firefox/addon/elite-proxy-switcher/ and click +Add to Firefox
Click Install Now in the next window, now restart Firefox.
Then in Firefox Add-ons Extensions click the options for Elite Proxy Switcher.
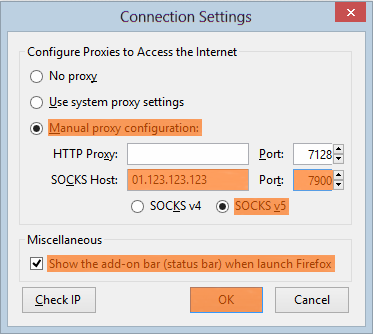
Select Manual proxy configuration, enter your server IP in the SOCKS Host Box and the Port number in the Port Box, check SOCKSv5 is selected and also select Show the add-on bar (status bar) when launch Firefox. Click OK.
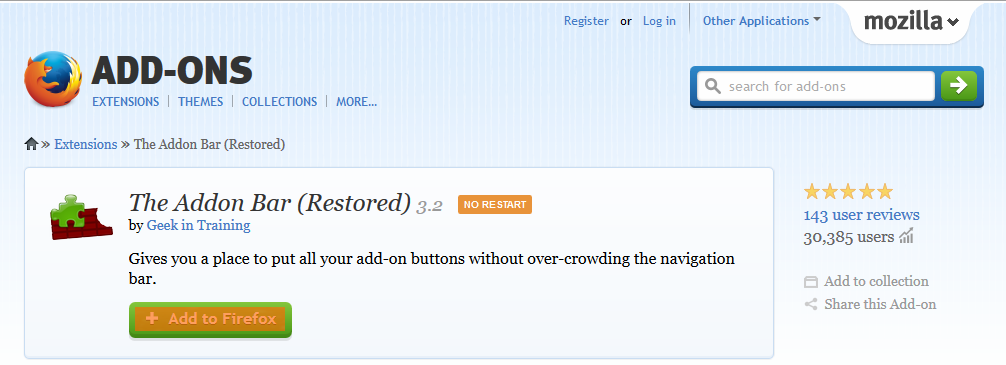
If you are using Firefox 29 or above you will need to re-activate the Add-On Bar Goto https://addons.mozilla.org/en-US/firefox/addon/the-addon-bar/ and click + Add to Firefox
Click Install Now in the next window.
Now at the bottom of your browser you will find a notification bar saying Direct Connection
When you click Direct Connection it will change to Socks5: <YourServerIP>, you are now connected to your server SOCKS5 IP
Click Sock5: <YourServerIP> to go back to Direct Connection
Chrome
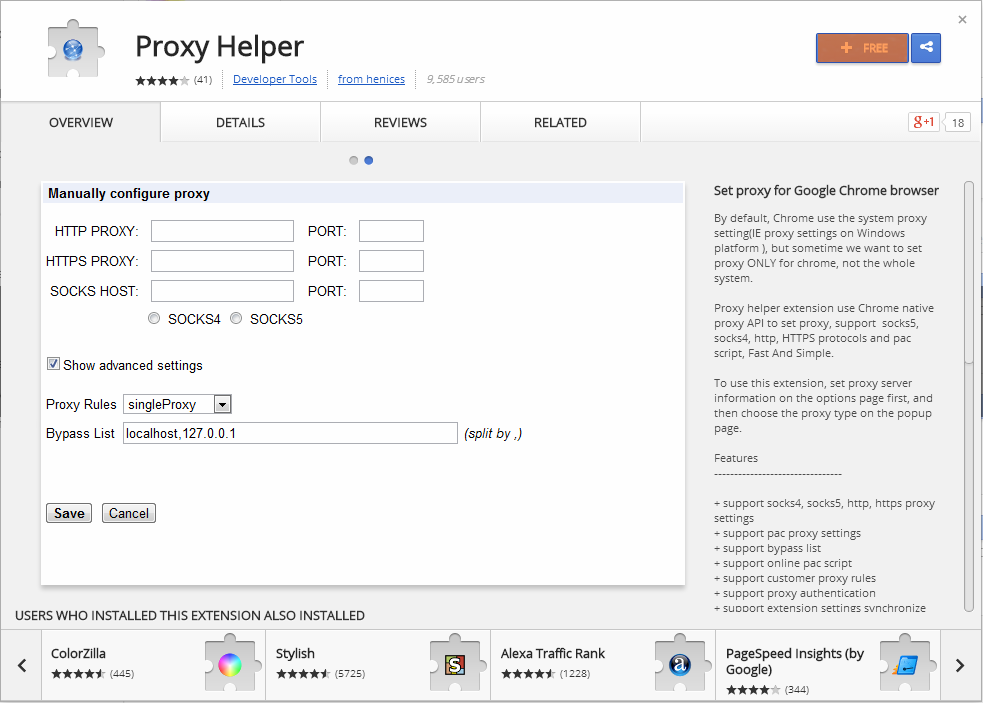
Goto https://chrome.google.com/webstore/detail/proxy-helper/mnloefcpaepkpmhaoipjkpikbnkmbnic?hl=en-US and click + Free
Click Add in the next window
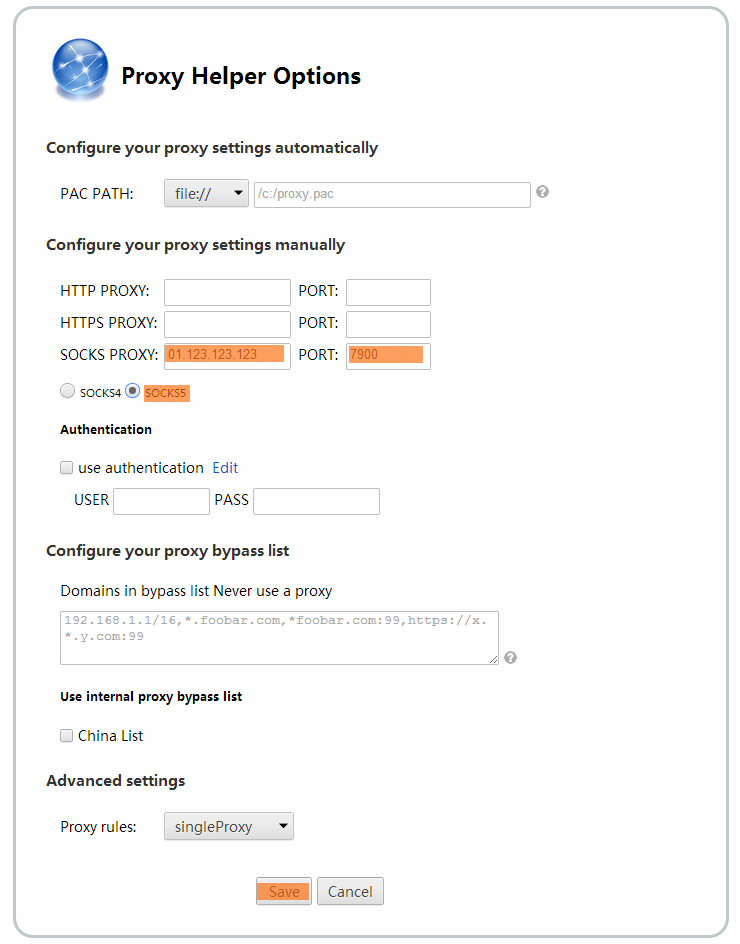
Enter your Server IP in SOCKS Proxy Box and the Port number in the Port Box. Select SOCKS5 and click Save
Now Goto chrome:extensions/ in Proxy Helper select Allow access to file URLs

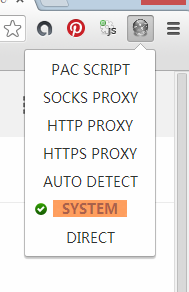
AT the top right of Chrome browser click the Proxy Helper Icon ![]() and to turn SOCKS5 on click SOCKS PROXY
and to turn SOCKS5 on click SOCKS PROXY
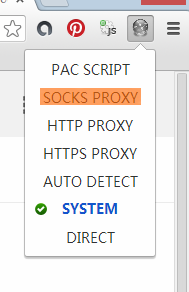
To turn SOCKS off click SYSTEM
Back
